Replaces
This part doesn’t fit a . Select from parts that fit.
Frequently bought together
Part Details
Item Condition:
New
Attention California Customers:
 WARNING: This product can expose you to chemicals including Lead and Lead Compounds, which are known to the State of California to cause cancer, and birth defects or other reproductive harm. For more information, go to www.P65Warnings.ca.gov.
Lifetime Warranty
This item is backed by our limited lifetime warranty. In the event that this item should fail due to manufacturing defects during intended use, we will replace the part free of charge. This warranty covers the cost of the part only.

Created on:
Tools used
Brought to you by 1AAuto.com, your source for quality replacement parts and the best service on the Internet.
Hi, I'm Mike from 1A Auto. I hope this how-to video helps you out, and next time you need parts for your vehicle, think of 1AAuto.com. Thanks.
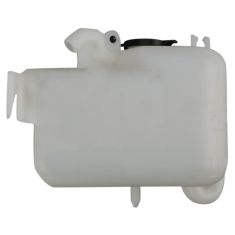
In this video, we're going to be working with our 1998 Toyota Camry 2.2-liter 4-cylinder. We're going to show you how to change out the coolant overflow tank over there on the passenger firewall. These are plastic and are very easy to become cracked, or they can melt if you overheat the vehicle. If you like this information, please click subscribe. We have a ton more info on this vehicle, as well as many other makes and models. If you want these parts for your vehicle, they're available at 1AAuto.com. You can follow the link down in the description.
Here are the items you'll need for this repair: 10mm socket, ratchet, and a socket extension.
Open the hood, and secure the hood prop. Remove the hose from the expansion tank. Using a 10mm socket, ratchet and extension, remove the bolt securing the expansion tank to the firewall. Lift straight up and remove the expansion tank from the vehicle.
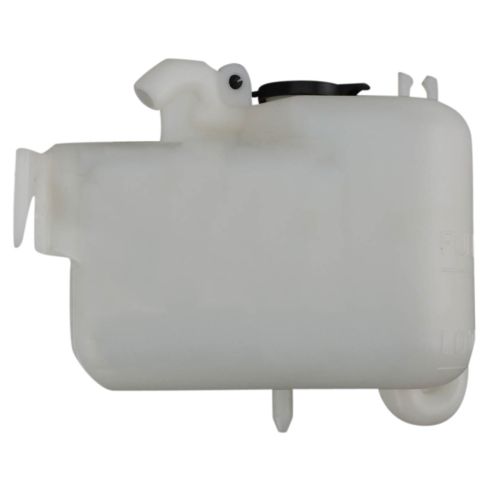
Here we have our old coolant expansion tank that we removed from our vehicle, and our new part from 1AAuto.com. As you can see, there are some minor aesthetic differences in the cap; otherwise, they're the same size and have the same mounting locations.
All we need to do is change over this bracket on the back. Reinstall the bracket onto the new tank, line it up, push the bottom support into the rubber mount, and reinstall your 10mm bolt with a 10mm socket and ratchet. Reinstall the hose for the expansion tank. It's very common for these to crack, so if you are replacing yours because it's broken, you can fill it with some new coolant. Ours, however, is not broken, so we'll use a funnel and the coolant that came out of our old tank.
Thanks for tuning in. We hope this video helped you out. Next time you need parts for your car, please visit 1AAuto.com. Also check out our other helpful how-to and diagnosis videos.