Replaces
This part doesn’t fit a . Select from parts that fit.
Frequently bought together
Item Condition:
New
Attention California Customers:
 WARNING: This product can expose you to chemicals including Lead and Lead Compounds, which are known to the State of California to cause cancer, and birth defects or other reproductive harm. For more information, go to www.P65Warnings.ca.gov.
Lifetime Warranty
This item is backed by our limited lifetime warranty. In the event that this item should fail due to manufacturing defects during intended use, we will replace the part free of charge. This warranty covers the cost of the part only.
Returns: Parts with electrical components cannot be returned once installed.
FREE Shipping is standard on Orders shipped to the lower 48 States (Contiguous United States). Standard shipping charges apply to Hawaii, Alaska and US Territories. Shipping is not available to Canada.
Expedited is available on checkout to the United States, excluding Alaska, Hawaii and US Territories as well as P.O. Boxes and APO/FPO/DPO addresses. Final shipping costs are available at checkout.


Created on:
Tools used
All right friends. To get started, we need to obviously access the rear area of the engine. To get to that, let's get this right out of the way. There's gonna be a 10-millimeter headed bolt straight down right here. Go ahead and remove that. Ours is broken so we're not necessarily worried about it. After that, we're gonna loosen up this clamp and get this right off. Set this aside. Now to get to your OP switch, it's gonna be located right behind the distributor right here. I'm just gonna go ahead and pull this cap out of the way because it's gonna make it easier for the video. You don't necessarily need to take any of this apart though. Just go ahead and reach on back there. Next thing you would wanna do is disconnect the wiring that goes to it. Always check your electrical connectors. Make sure you don't see any funny colors. We'll go ahead and set that aside and now we'll use our oil pressure switch socket. As you can tell, you're gonna need a special socket to go ahead and get your oil pressure sensor off of here. I'm just gonna go ahead and unscrew this so it's nice and loose. There it is friends. Just real quick, I wanted to show you, the original one wasn't screwed in so it's completely bottomed out against anything.
It's essentially about three quarters of the way up the threads. So we're gonna do the same exact thing for the new one. Essentially, just go past where the pipe threading is. All right. Now it's gonna be time to install our brand new oil pressure sensor. I'm just gonna go ahead and line this up by hand. I'm gonna put it in a few good threads, that way there I know that I'm completely lined up and I'm not cross-threaded. Then I'm gonna move along to snugging it up. Just keep in mind that we don't want it completely bottomed out. All right. So I could feel it definitely seemed like it wanted to stop there. I'm looking at the threads and I can tell that that's in approximately just as far as the original one is. I think that looks perfect. Let's continue. Now it's gonna be time to plug in the oil pressure sensor. Okay friends. Now it's time to get this back on here. Just something I'm gonna mention real quick is you're gonna have your clamp and then over on this side, you should have that mounting bolt. Ours was broken so I don't necessarily have the bolt, but I'm just gonna go ahead and slide this right on here. Line it up so the mounting bolt's here. Go ahead and start that in. We're gonna move along to snugging this up. Now the next thing we need to do is start up the truck. We're gonna pay attention to our oil gauge and make sure it's working properly. If it stays down at the zero, it's not working properly. Perfect.
Tools used
Tools used
So, to get to this OP switch, we took this off. It's much easier to get to there. You don't necessarily need to feel like reaching up and around. But it's pretty much located at this angle. All right, remove this stuff out of the way. You can see where it mounts into right where my fingers are right here. Okay. So, you're going to need your oil pressure switch socket. It's a special socket. Slide it over it, and then we'll remove it. Before we do that, we need to, of course, disconnect the wiring. I'll see if I can get it disconnected, and I'll show you. There it is.
That's what it looks like right there. Just grab this tab, and then I pulled it off. Easy peasy. Set that aside where we can find it. Here's the special socket I was talking about. As you can tell, it's not just a plain old six-point socket or anything. Let's see if I can get this in here, and bring my socket down along the back.
That slides right over. Once it's nice and loose, I'm going to go ahead and get this back off of there. It's important to take note of approximately how many turns it took to remove this because you want to remember that. It wasn't necessarily screwed all the way into the point, it was bottomed out with the engine. You can tell by how far the markings go up the tape here. It only goes up about halfway up the threaded area.
It's already got the tape on it. You don't have to worry about that. It's going to help seal it. I'm going to start this in by hand before I put my ratchet on, of course. Okay. Okay, that's approximately halfway. That feels great. Get my ratchet back off of here. Get the socket off of there. I'm just going to feel...This feels good. Perfect. Grab that wiring. Got our wiring here. Let's go ahead and get that connected in. Perfect. Awesome. If you moved any of this wiring around, just make sure that nothing is unplugged. That looks great. Awesome.
Tools used
Brought to you by 1AAuto.com, your source for quality replacement parts and the best service on the Internet.
Hi, I'm Mike from 1A Auto. I hope this how-to video helps you out, and next time you need parts for your vehicle, think of 1AAuto.com. Thanks.
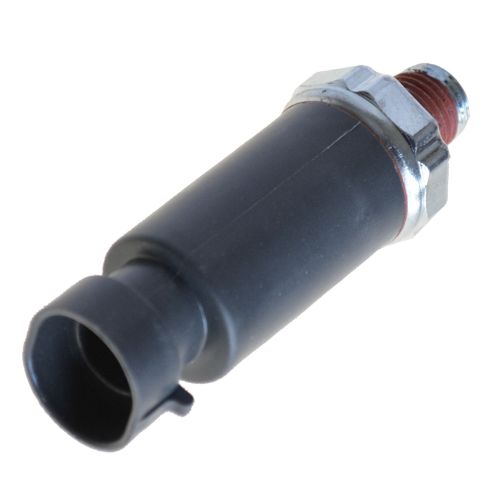
In this video we're going to show you how to replace the oil pressure sensor on this 2005 GMC Savannah 2500 with the 6-liter V8 engine. The tools that you'll need are a 10 mm socket and a 1 and 1/16th socket and a ratchet.
To start off go to the driver's side of the vehicle and you will see there is a panel right here and you're going to want to remove these two 10 mm bolts that secure that panel. Also, you'll see that there's a latch back here. Pull that back towards you and it should unhook that clip there. Then you just want to remove those bolts and we'll just fast forward as he does this. Now with the bolts removed you can just pull on that panel. Just reach underneath it and pull it out. Be careful not to pull out the panels above it. Now on the other side there are, again, two more 10 mm bolts securing a panel. You want to just remove these two 10 mm bolts and also, like on the other side, you want to pull back this clip and unlatch that. We will fast forward as he removes these two 10 mm bolts.
Now, you just want to pry this panel off. It should pry off pretty easily. In the center of the center console, underneath there's two more of these latch clips and what you want to do is you want to just push up on the clips and free them and then once you have this unlatched, just lift up and pull forward. It should pull right out. To make more room for yourself, the engine is behind this panel so what you can do is you can see it can't come out of this vehicle because the seats are in the way. The seats are only a few bolts if you want to remove them, but if you just want a little bit more room to save time what you can is you can just remove, you see those four 10 mm bolts inside this panel? You just want to remove those. With those bolts out you can now pull that panel up and off and remove that little top piece and now with the overall access panel being shorter you can push it under the dash in that case. Just to give you a reference to where it is, you will see from the passenger's door it's actually right in the center at the back of the engine.
What you want to do, is disconnect the harness, pull up on that tap. Pull the harness right up and out and then using a 1 and 1/16th inch socket just put that over the sensor and just start loosening it up and twisting it out. You have it loosened enough it will just pull straight out.
You can see the old one's on the right and the new one from 1A Auto is on the left. They are exactly the same. You just want to take that sensor and press it down into the hole and just twist it in by hand. Once it's in there firmly you just want to get your 1 and 1/16th socket and ratchet and tighten it up the rest of the way. Now just plug the connector back into the top of the oil pressure sensor and that's all set.
To put the panel back together what you want to do is put that top piece on. Line up the access panel and you just want to keep pushing it back into place. You'll see those clips have to line up. There are hooks on the van, on the floor of the van that you need to line the latch hooks up with. One you have it lined up you just want to start connecting all those latches so just hook onto the hook, pull the tab and lock it. You want to do that with all four of them. Now you can replace the cup holder panel. Put it into the place and replace those four 10mm bolts. It helps if you do it by hand. You can hold on to it and line up all the bolts to start it out by hand and then we'll fast forward as he uses the ratchet to tighten them the rest of the way. Now you can put on that little panel right there. It just clips into place. Replace the panel underneath the driver's side. Just push all the clips in. You should hear them snap. Then you just want to replace those two 10 mm bolts and we'll fast forward as he does this. Now you just want to push that panel into place on the passenger side. You want to line up the clips, push it in and then replace those two 10 mm bolts. Then you are all set.
We hope this helps you out. Brought to you by www.1AAuto.com, your source for quality replacement parts and the best service on the Internet. Please feel free to call us toll-free, 888-844-3393. We're the company that's here for you on the Internet and in person.
Tools used
So, to get to this OP switch, we took this off. It's much easier to get to there. You don't necessarily need to feel like reaching up and around. But it's pretty much located at this angle. All right, remove this stuff out of the way. You can see where it mounts into right where my fingers are right here. Okay. So, you're going to need your oil pressure switch socket. It's a special socket. Slide it over it, and then we'll remove it. Before we do that, we need to, of course, disconnect the wiring. I'll see if I can get it disconnected, and I'll show you. There it is.
That's what it looks like right there. Just grab this tab, and then I pulled it off. Easy peasy. Set that aside where we can find it. Here's the special socket I was talking about. As you can tell, it's not just a plain old six-point socket or anything. Let's see if I can get this in here, and bring my socket down along the back.
That slides right over. Once it's nice and loose, I'm going to go ahead and get this back off of there. It's important to take note of approximately how many turns it took to remove this because you want to remember that. It wasn't necessarily screwed all the way into the point, it was bottomed out with the engine. You can tell by how far the markings go up the tape here. It only goes up about halfway up the threaded area.
It's already got the tape on it. You don't have to worry about that. It's going to help seal it. I'm going to start this in by hand before I put my ratchet on, of course. Okay. Okay, that's approximately halfway. That feels great. Get my ratchet back off of here. Get the socket off of there. I'm just going to feel...This feels good. Perfect. Grab that wiring. Got our wiring here. Let's go ahead and get that connected in. Perfect. Awesome. If you moved any of this wiring around, just make sure that nothing is unplugged. That looks great. Awesome.
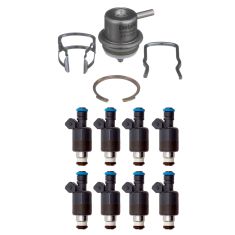
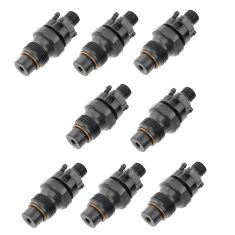
Replaces Chevrolet GMC 9 Piece Fuel Injection System Kit Delphi DEEEK00005
$759.95
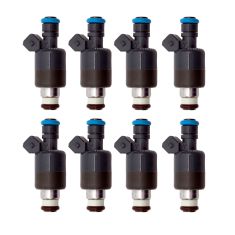
Replaces Chevrolet GMC 8 Piece Fuel Injector Set Delphi DEEEK00004
$682.95
Replaces Chevrolet GMC 8 Piece Fuel Injector Set Standard Motor Products 1AEEK00490
$659.95
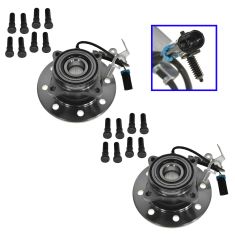
Replaces Chevrolet GMC Front Driver & Passenger Side 2 Piece Wheel Bearing & Hub Assembly Set Timken TKSHS00337
$584.95
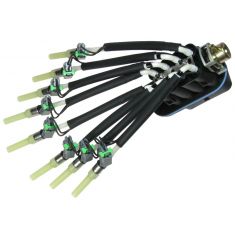
Replaces Chevrolet GMC Multiport Fuel Injection Conversion Standard Motor Products 430 FJ504
$499.95
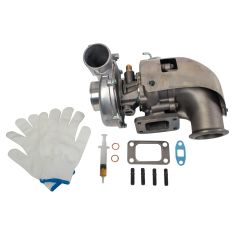
Replaces Chevrolet GMC Turbocharger TRQ TCA17256
$481.95
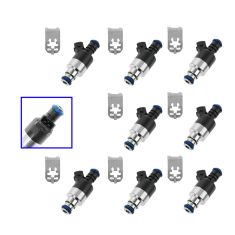
Replaces Chevrolet GMC Hummer 8 Piece Fuel Injector Set Standard Motor Products 1AEEK00488
$429.95
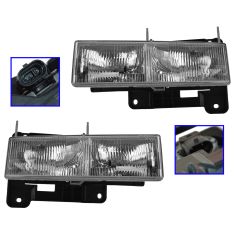
Replaces Chevrolet GMC Driver & Passenger Side 2 Piece Headlight Set General Motors OEM GMLHP00001
$384.95
Replaces Chevrolet GMC Cadillac Olds Isuzu 8 Piece Fuel Injector Set TRQ FIA58828
$366.95

Replaces Chevrolet GMC Cadillac Distributor Delphi CZ20008
$355.95


